Hey guys! You may not know this about me but I’m a sucker for photoshoots! I LOVE them! I appreciate photos SO much that we hired TWO professional photographers for our wedding! That took a bit of convincing when it came to my husband (lol) but he eventually agreed. I feel like photos are the only tangible items you have to look back on and be able to reminisce. Let’s face it though; photoshoots are freakin’ expensive! When I had my kids, I knew I’d be taking 376428305 photos of them everyday and I wanted the cute photos I saw on Pinterest everyday, but I didn’t want to go broke paying a photographer all the time. So I learned the art of photography using Pinterest Photography Tutorials and I used my iphone (until I invested in this amazing camera) to take incredible, professional-looking photos of my kids without the ‘professional-looking‘ price tag attached. These are some of the best tips that helped me to create amazing DIY Family Photos. These DIY Family Portrait Ideas are perfect for any family on a budget!

This post may contain some affiliate links. You can read our full disclosure for more info.
Table of Contents
DIY Family Portrait Ideas on a Budget
1 | Create your own Props
Most great photoshoots utilize props but props can be super expensive. If you have an idea of what type of photoshoot you’d like to do, take some time to think about what kind of props you’d like to include. Pinterest can come in handy if you’re having problems deciding.
For example, helium balloons (or just regular ol’ balloons) are great for birthday photos, little blankets are nice for newborns and pumpkins are perfect for Fall photoshoots.
DIY Family Portraits can be JUST as amazing as professional ones if you put some time and effort into DIY Photo Props. From DIY tassel backgrounds to printed signs, your options are limitless.
You can even use everyday items from around your home to take the perfect family photo. Toys are great props for kids photos, and curtains often make superb backdrops if you’re unable to buy the expensive ones.
Talking about backdrops, what better photo backdrop is there than God’s beautiful natural landscapes. Waterfalls, sunsets, beaches, beautiful meadows and pretty flower-filled fields (Hey! Can you say flower-filled fields 10 times? HA!) all make the best backdrops.
It’s amazing what you can use to enhance your photoshoot when you get a little creative.
Some everyday items that would make great props include:
Woven Baskets
Bubbles
Balloons
Stuffed Animals & Toys
Curtains
Tablecloths
Glitter & Confetti (Make your own by chipping up small pieces of colored paper)
Books
Furniture
Blankets & Sheets
Printed Signs
Rugs/Mats
Sparklers
Leaves
Pumpkins
Christmas Decor
Trees
Swings
Logs
Flowers
Boxes
Cars
Umbrellas
Fruits
Just be creative with it!
Even the purchasing of cheap photo props can be an option. These can help create the best pictures and you’d still be way under budget when compared to the price of a professional photoshoot. Some options include this beautiful burlap Family banner that can double as Home Decor when you’re finished with using it as a prop, or this gorgeous wreath floral headband.
2 | Get creative with outfits
Some people pay a pretty penny to organize the complete look for each family member when they have a family photoshoot. They spend money on matching outfits, hair and makeup. But these are all so unnecessary. You do not need to purchase matching outfits for everyone and spend hundreds on hair and makeup. DIY tutorials can save the day!
Pull together matching outfits from your very own closet. Every family member doesn’t NEED to match. You can have the boys in one color and the girls in another. Or the adults in one color and the kids in another. OR you don’t even need to match at all! That’s the awesome thing about Photography… it’s Art and creativity always win!
If you do want matching outfits, check thrift shops and source cheap items from online like these matching outfits for a super cool family or this cute Christmas set. How cute, right?! For the hair and makeup, utilize YouTube tutorials and get the perfect look for free!
3 | Learn the Art of Photography
I taught myself the art of photography using Google and Pinterest. And if I can do it, anyone can. I am in no way a professional but I can at least take pictures that I love.
I’ve since had people ask me to do engagement shoots, newborn photoshoots etc. but I turned down paid opportunities and only really did them as favors to friends.
Here’s an example of one of my Christmas shots back in 2013 when I had just gotten started learning how to perfect my photos.

There’s so much to learn by doing a quick search but if you just want some basic photography tips to start, the following tips and tricks will surely help you with your DIY Family Portraits!
-Lighting
You need GREAT lighting if you want your pictures to look good. The BEST lighting is natural light so open up a window or go outside. If you choose to do an outdoor photoshoot, the best natural lighting is during dawn or dusk. You will get that perfect lighted glow to produce the most stunning photos.
A flash tends to make a picture look flat and bleh so stay away from using the flash. Professionals usually have incredible lighting equipment but we need to make do with what we have. Natural light is the best AND it’s free. It’s a no brainer really!
Check out this awesome tutorial which explains how to create a DIY Studio Lighting with Household Items.
-The Rule of Thirds
In order for your DIY family photo to look amazing, you need to understand how professional photographers arrange their subjects. In the rule of thirds, a grid with nine blocks is visualized.
The idea is to place your points of interest along the intersection of each line. I know this probably sounds confusing, but this tutorial will totally clear up any questions that you may still have.
-Landscape vs Portrait
This simply means that you’ll have to mix it up a bit and take both vertical and horizontal images. The rule of thirds from the above point will still apply.
-Posing your Subject
You want your subject (in this case your kids or your family) to look interesting so you need to focus on different poses.
Some good ideas when your subjects are standing would be to have them lean forward a little from the waist up, have them stand with more weight on one foot than the other, let them fold their arms, or put their arms on their arms on their waist or kids can even throw their hands up in the air for a fun shoot.
Have fun with different shots. Try arranging for everyone to sit or to stand whilst using different props. You can also try taking shots of them mid-jump with feet up in the air.
If you want to get shots from different angles, walk with a ladder and use it to take shots from higher up above. There are so many options! Just be creative and have fun!
4 | Ask a family member/friend for help
A family Portrait will not be complete without YOU so ask a family member for help on the day. Send over this link so they can have access to all the above info, and she too can know about posing subjects, proper lighting and the rule of thirds. This way you can be in the pictures too.
If you’re just taking pictures of the kids on a nice evening, your helper can help with setting up props, getting kids to smile or laugh for the pictures and whatever additional behind the scenes work you may have to do.
Related: 25 Amazing Date Night Ideas you Must Try (that will not Strain your Pockets)
5 | Use Free Editing Tools
You don’t have to pay exorbitant prices for Photoshop or Lightroom if you’re trying DIY Family Portraits. You can edit photos with free online tools like PicMonkey or Canva. You need a membership with PicMonkey but you can always try the free trial at first.
Bonus Tip
Invest in good photography tools whenever you can afford it. If you’re someone like me, and you love and appreciate photos, then you should probably invest in a good DSLR camera. I can’t tell you how many times I’ve had mini photoshoots at home with my kids. The best part is that I have a lifetime of beautiful photos to look back on as they grow and make their way through life!
Now that you have an idea about HOW to take all these AMAZING photos, here are some awesome suggestions for the shots that you might want to recreate with your family.
All of these photos feature super cool shots with variations in angle, lighting, poses and props. Yet they are all equally beautiful. The absolute best part about all of these is that each and everyone can be taken and edited by you for FREE! There were no matching outfits, no over-the-top hair and no extravagant makeup!
Yes, some of these were taken by professionals but every single one of these shots can be taken with an inexpensive camera or even the camera on your phone!
10 DIY Family Portrait Ideas on a Budget
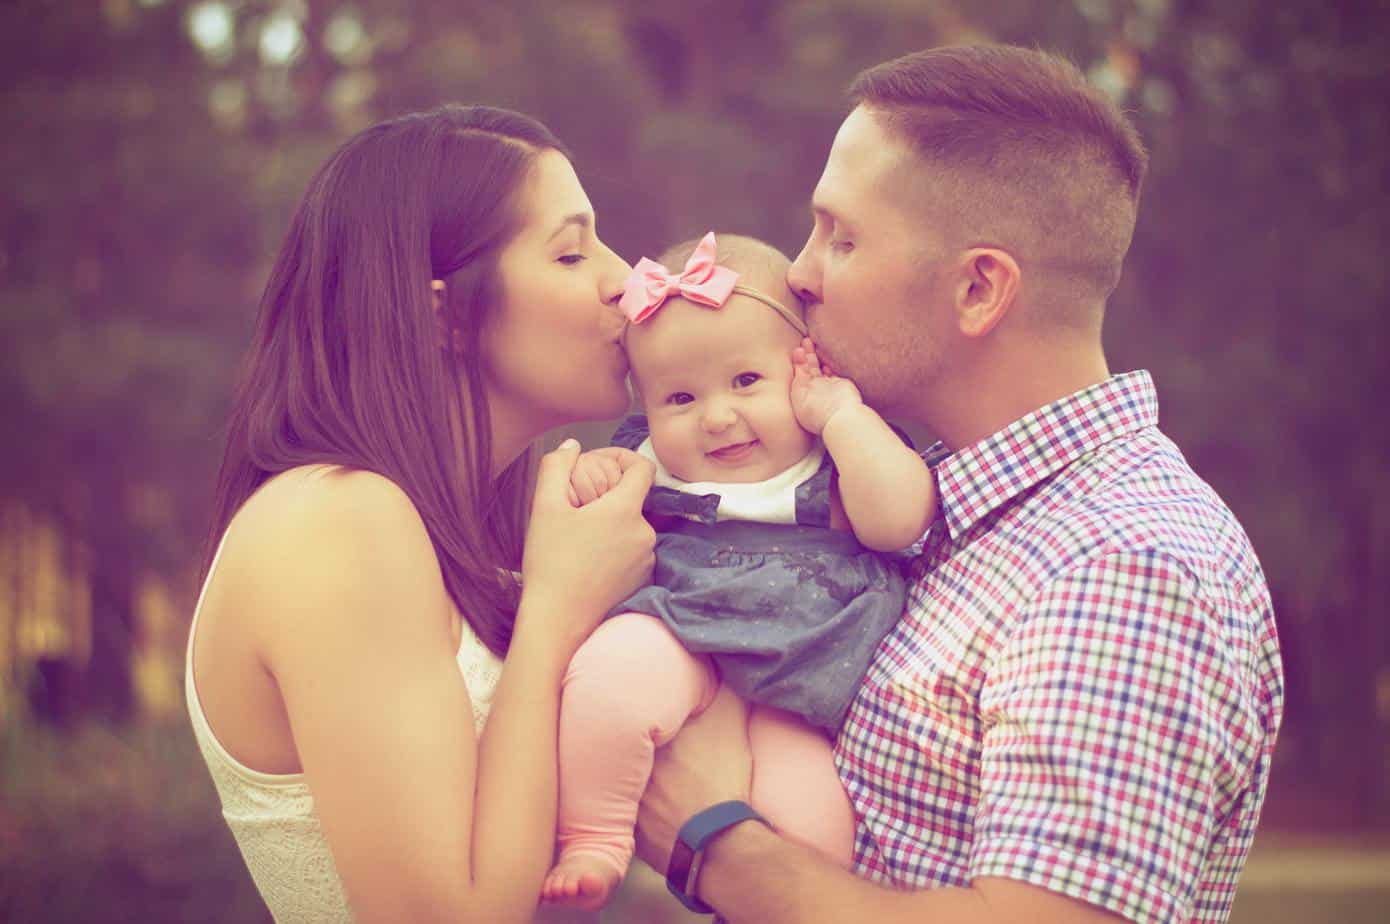
1. A Baby Sandwich
How cute is this shot?! It’s also super easy to recreate and gets baby in his/her happy zone. No need to beg baby for smiles!
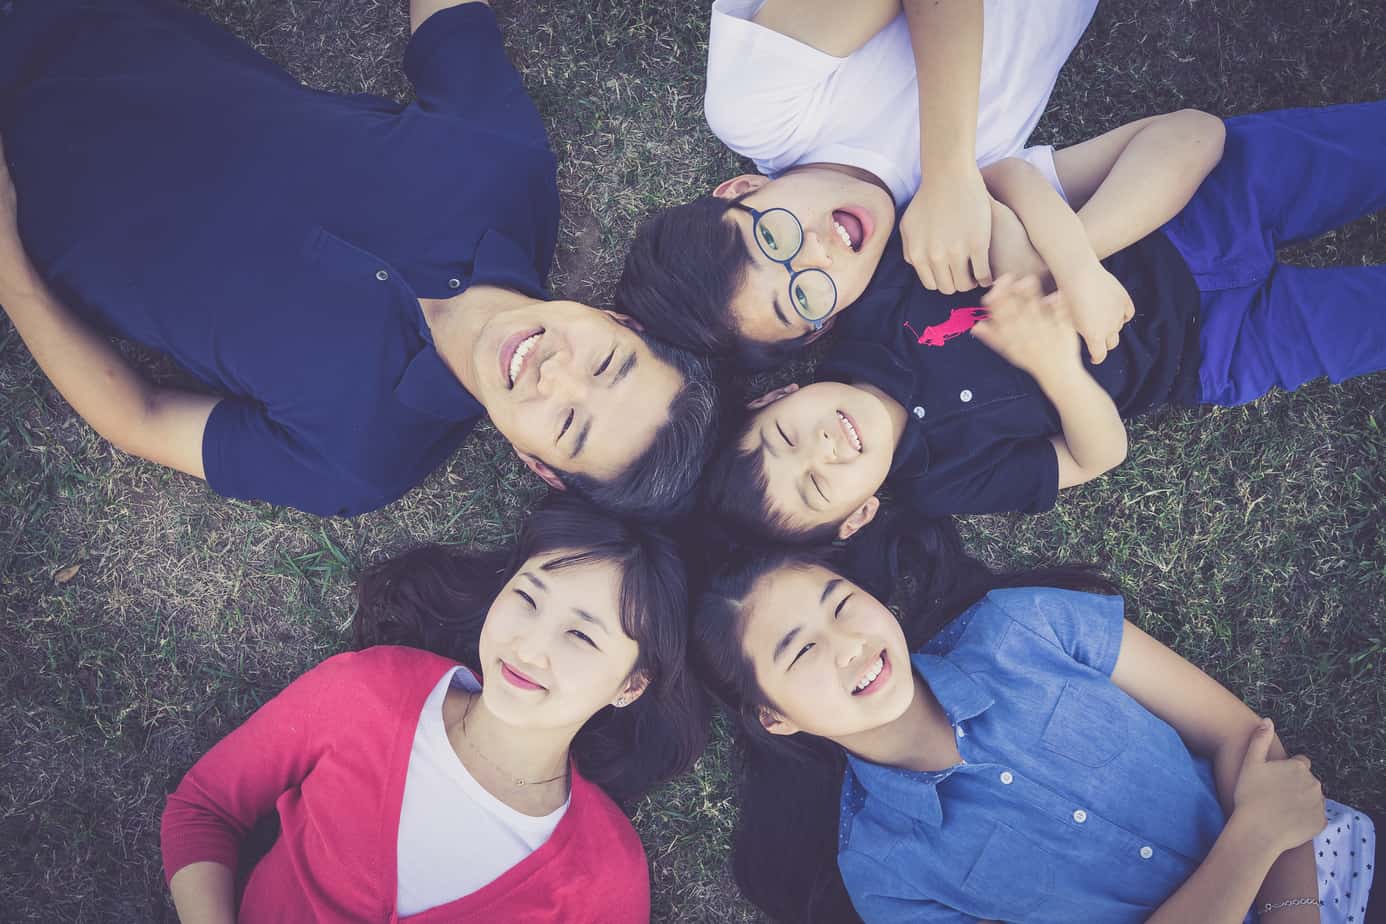
2. Circle Time
Gather your family members and let everyone lie next to each other so that they all form a circle. Grab a ladder to take the shot from up above. This can also be done if there is a nearby tree. You can have your family lie on the ground under the tree so that you can climb up and take this shot from one of the lower branches. You’d be amazed at what some photographers do to try to capture that perfect shot!
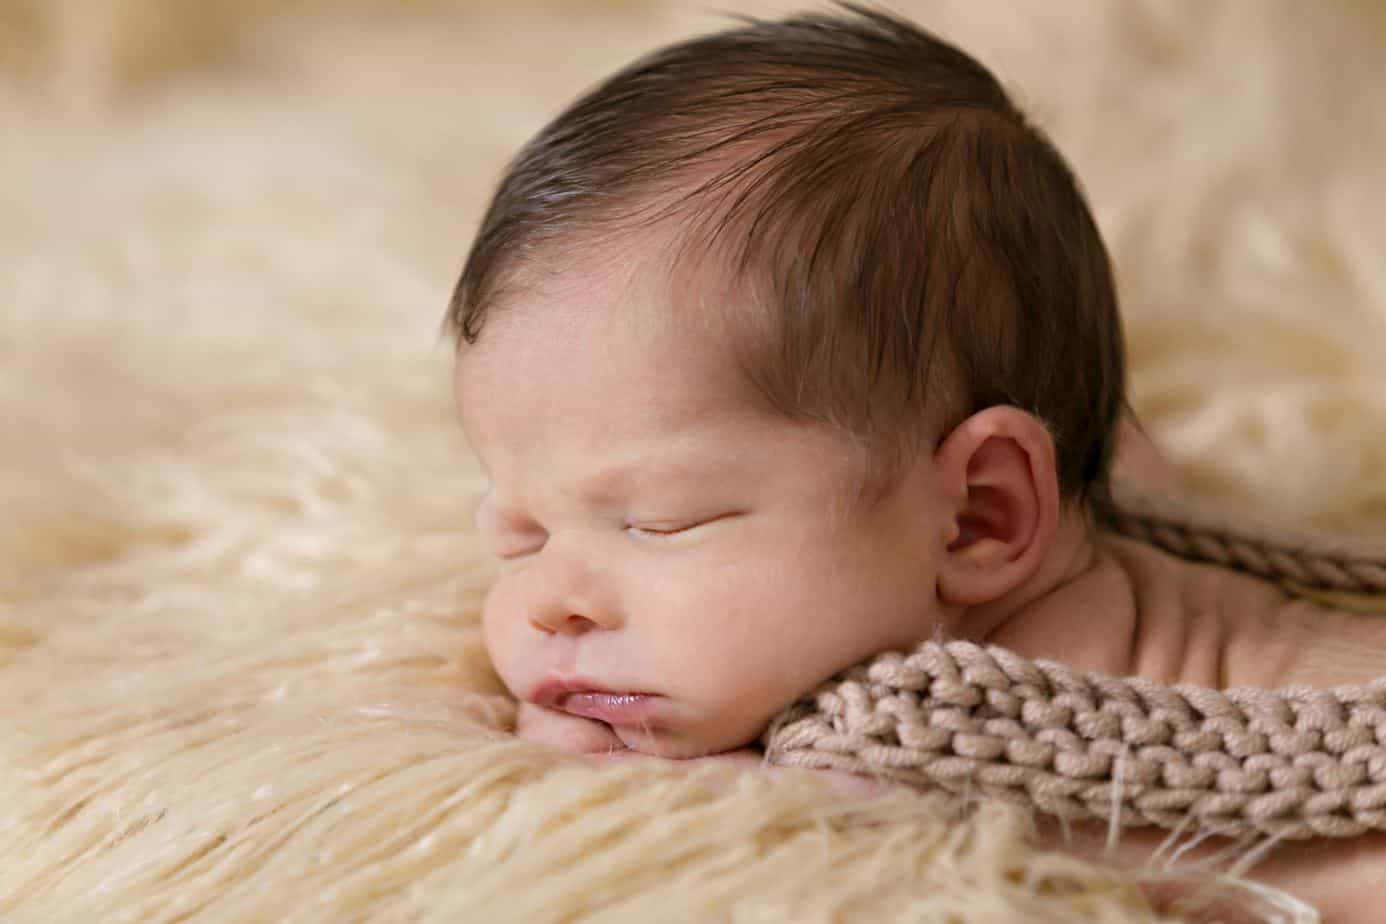
3. The Sleeping Newborn
Put baby down on a fuzzy mat or blanket to recreate this absolutely adorable shot! Be quiet and gentle so that baby will not be awakened. (P.S. Doesn’t this shot give you baby fever?!)
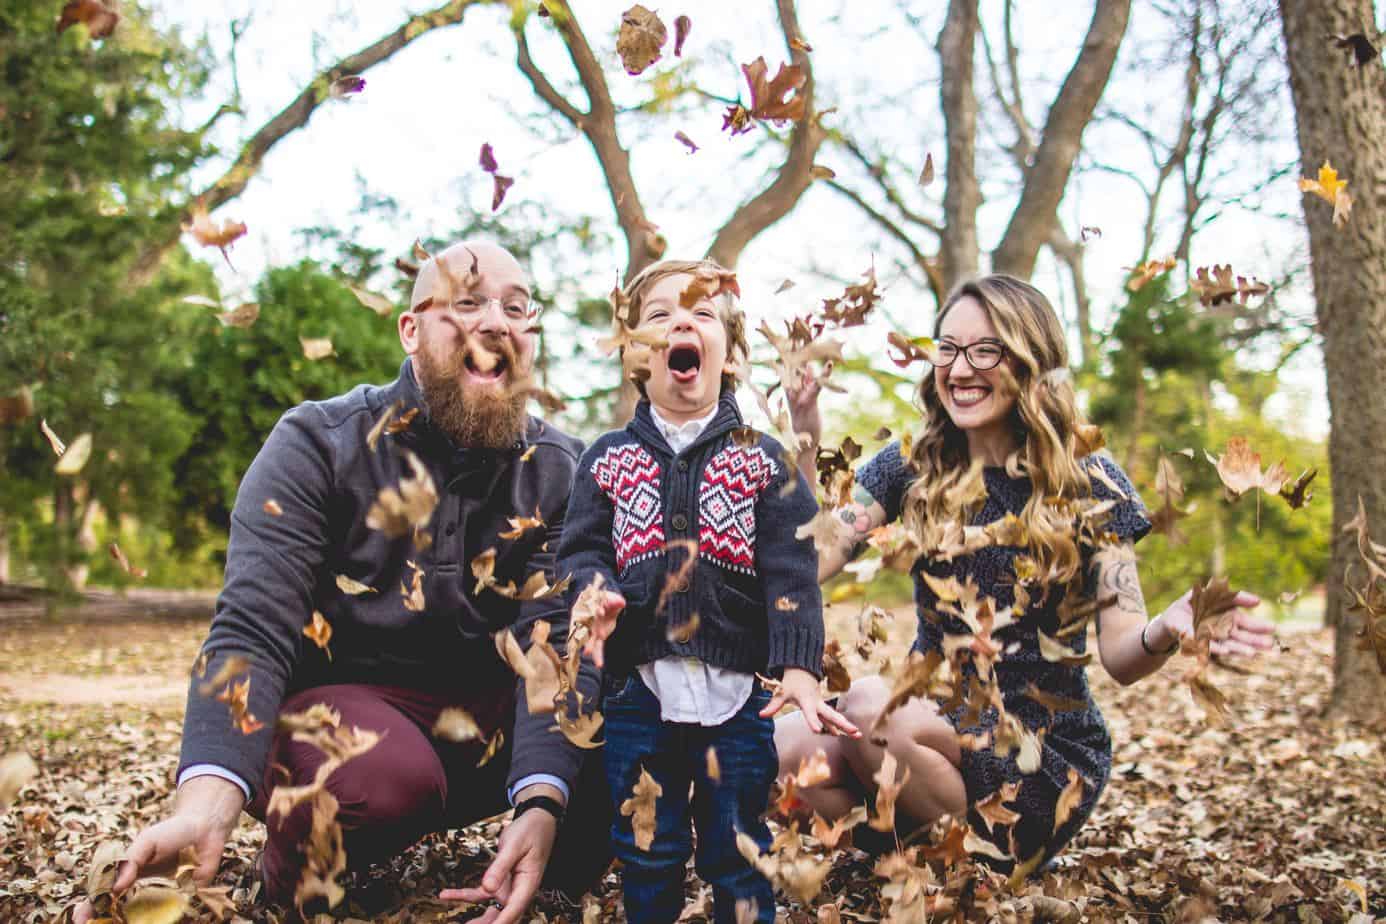
4. Fall Leaves
Fall leaves are the perfect photo prop for a DIY Fall family photo! And the best part is that it’s fun and FREE! Just look at that little, handsome guy in all his glee!
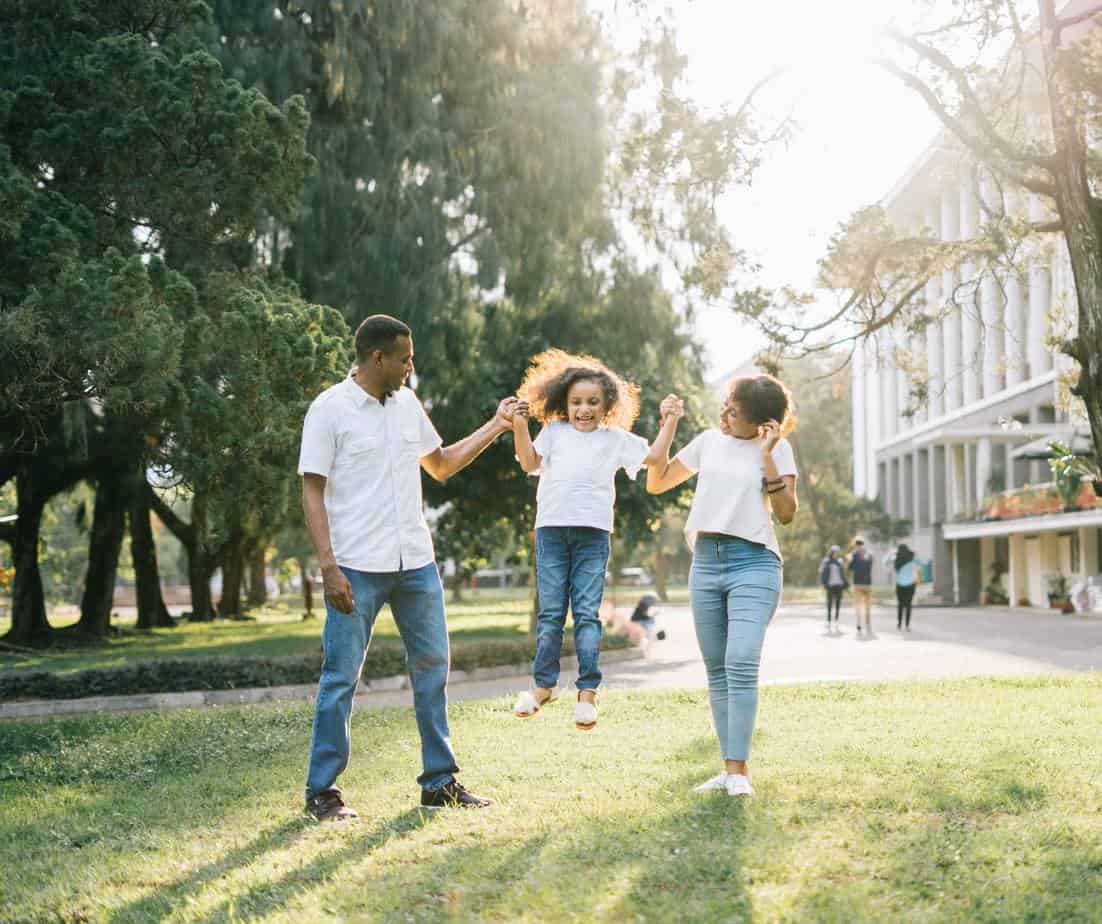
5. Up in the Air
This is one example of the Mid-Jump photo that I mentioned earlier. Take a burst of several shots from the beginning of the jump to the end and choose the best ones at the end.
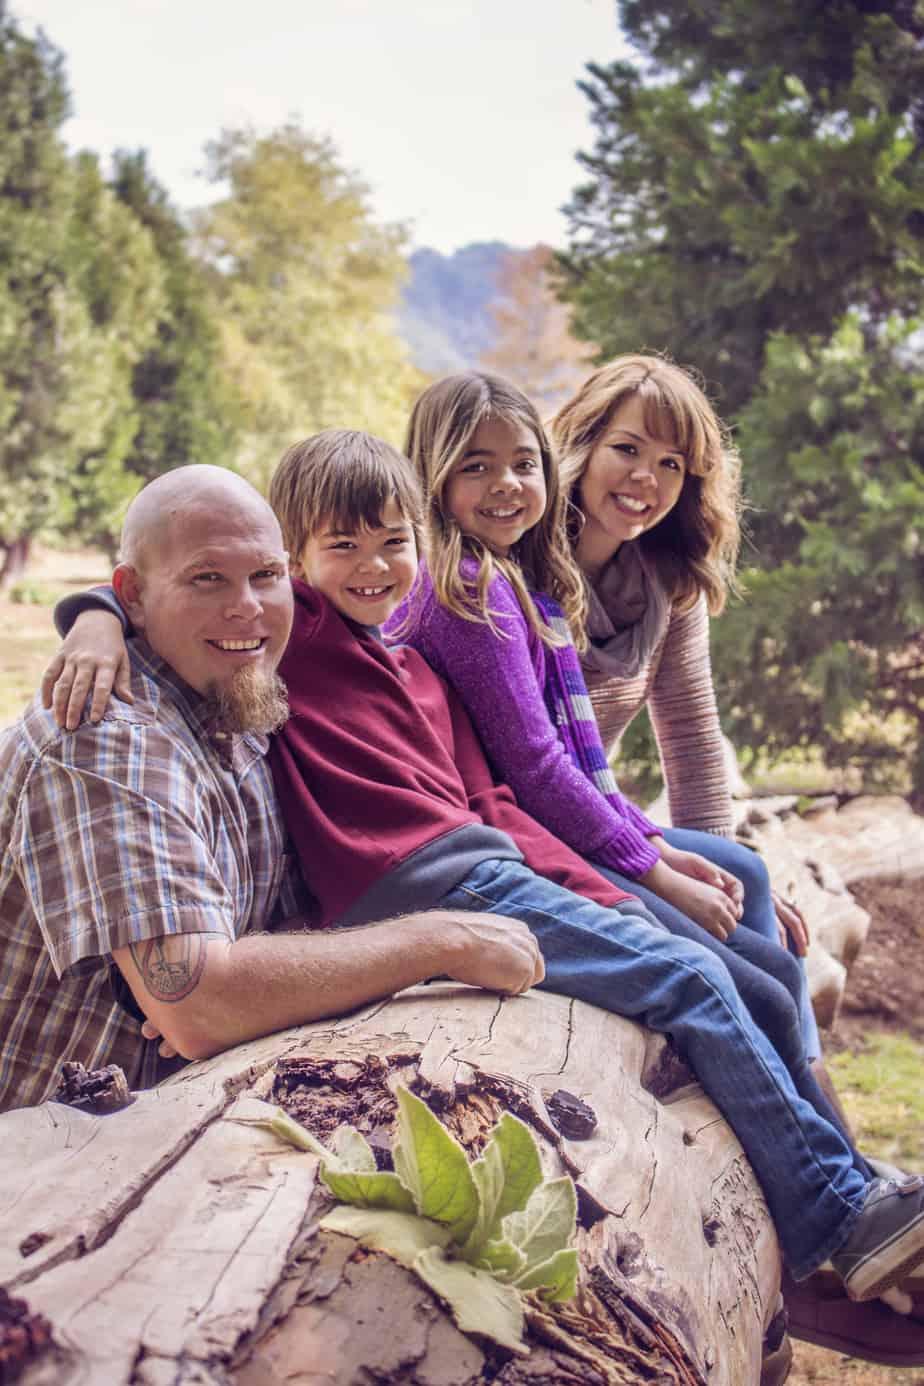
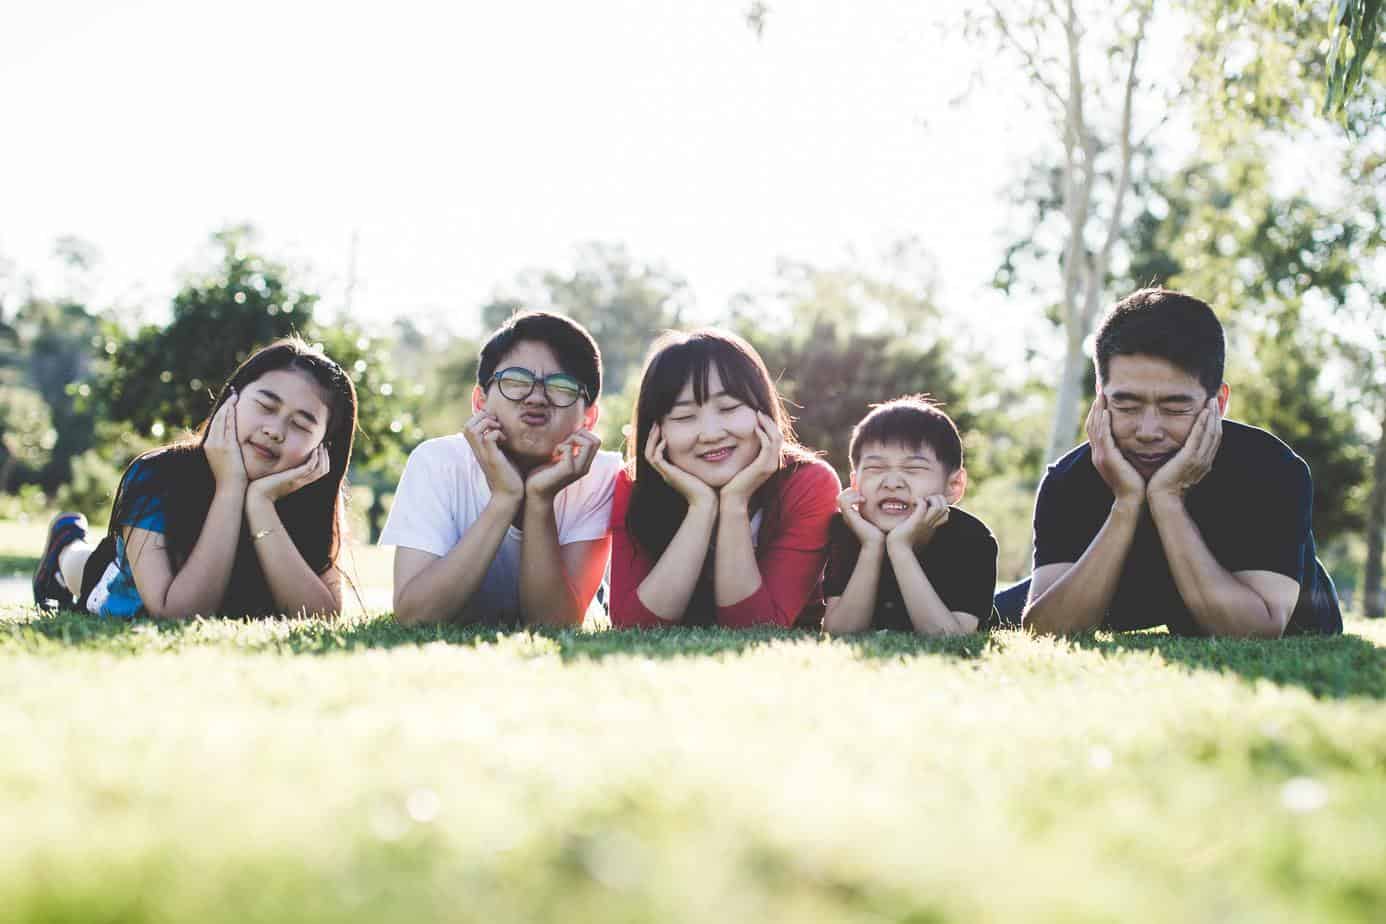
6. Pretty Smiles in a Row
Arrange everyone at different heights and take this beautiful shot!
Related: How to Slay Debt Payoff and Finally Achieve Financial Freedom
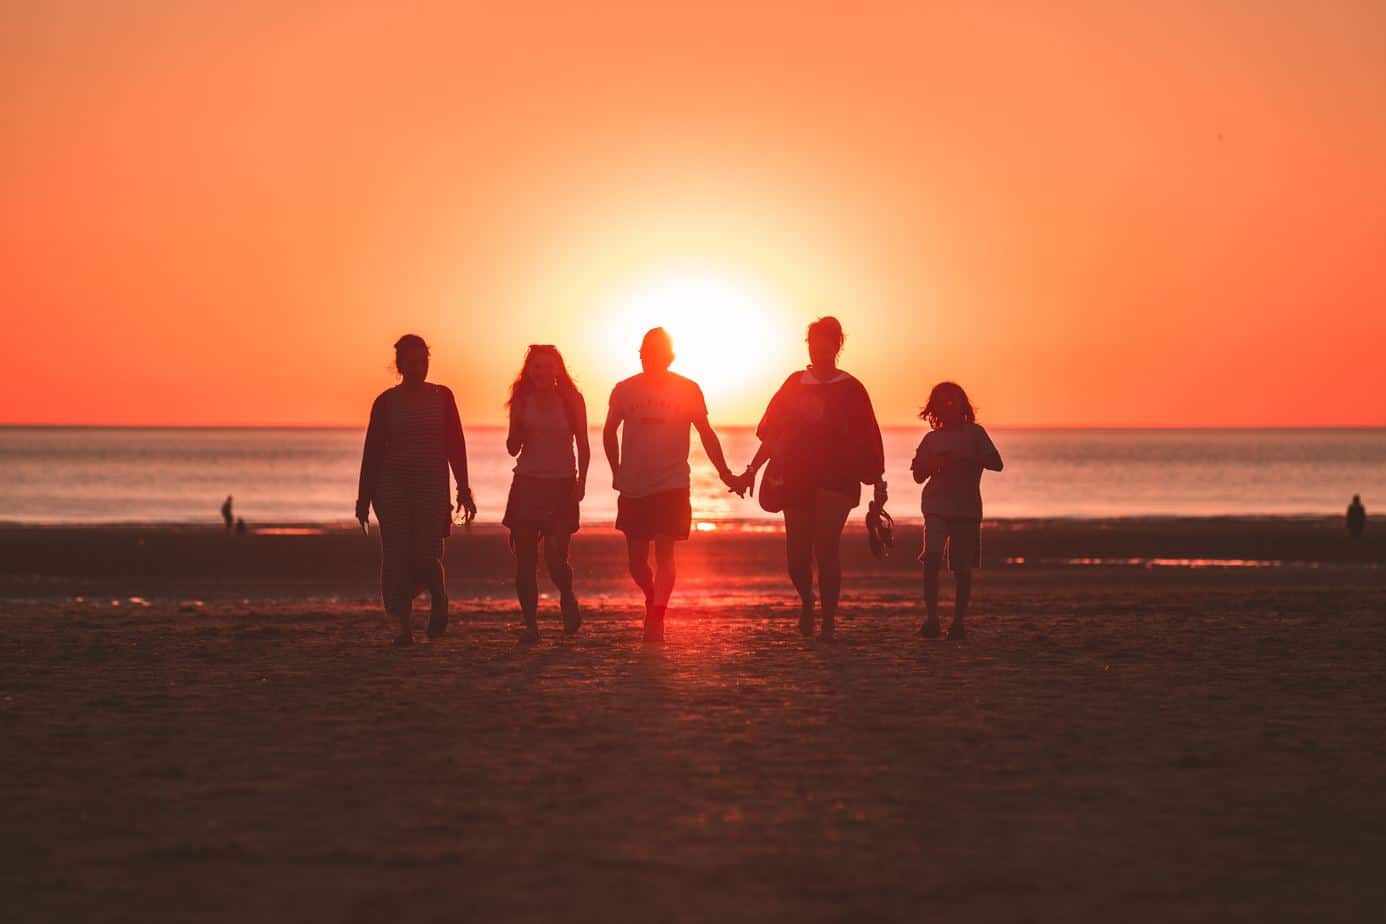
7. Sunlight and Shadows
This photo uses sunlight and shadows to create a perfect silhouette of this beautiful family! Learn how to recreate this shot.
8. Candid Shot of Baby
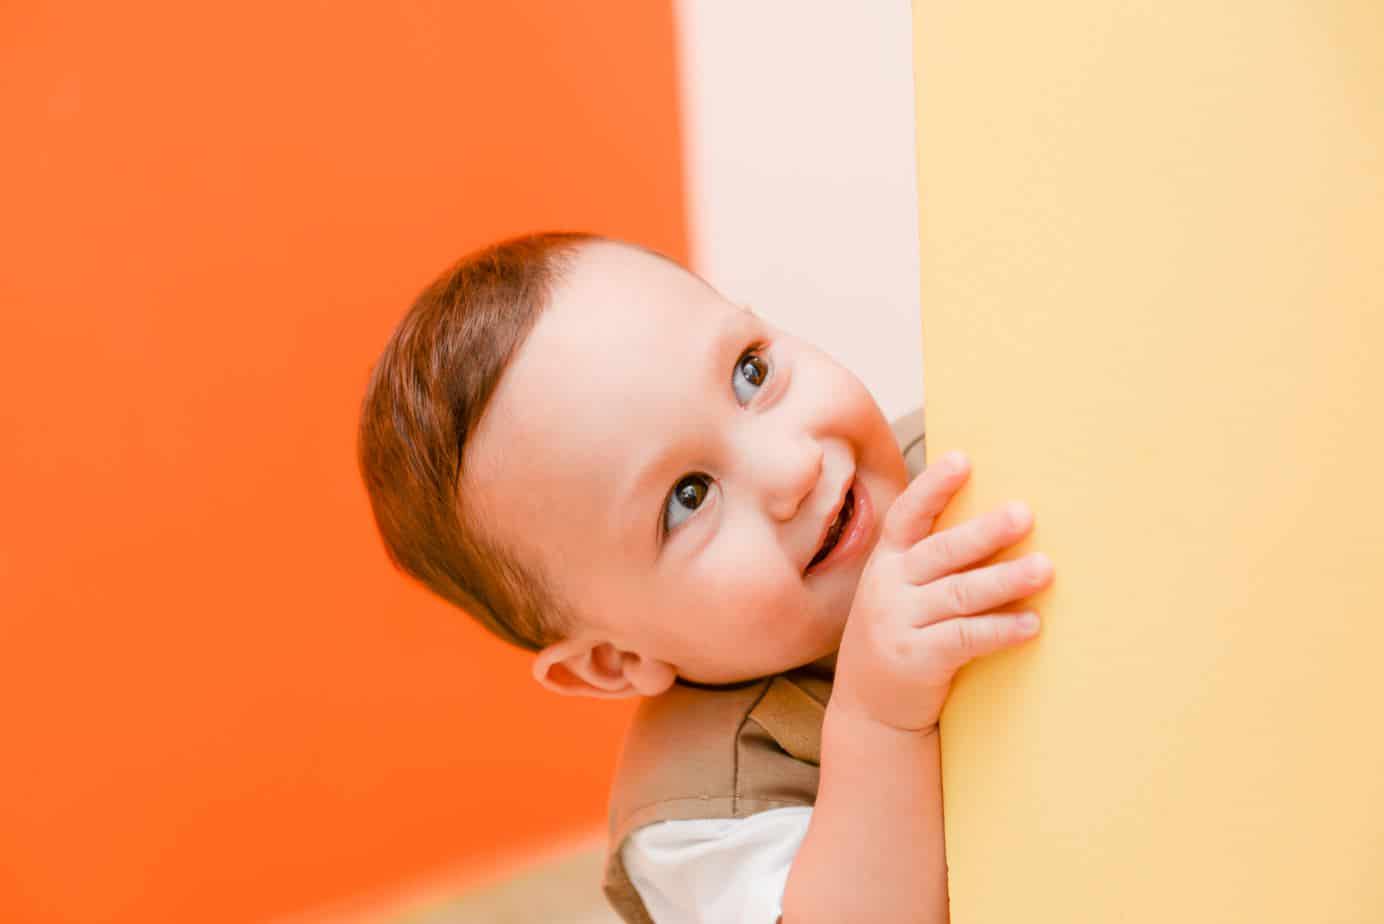
So cute and super easy to recreate!
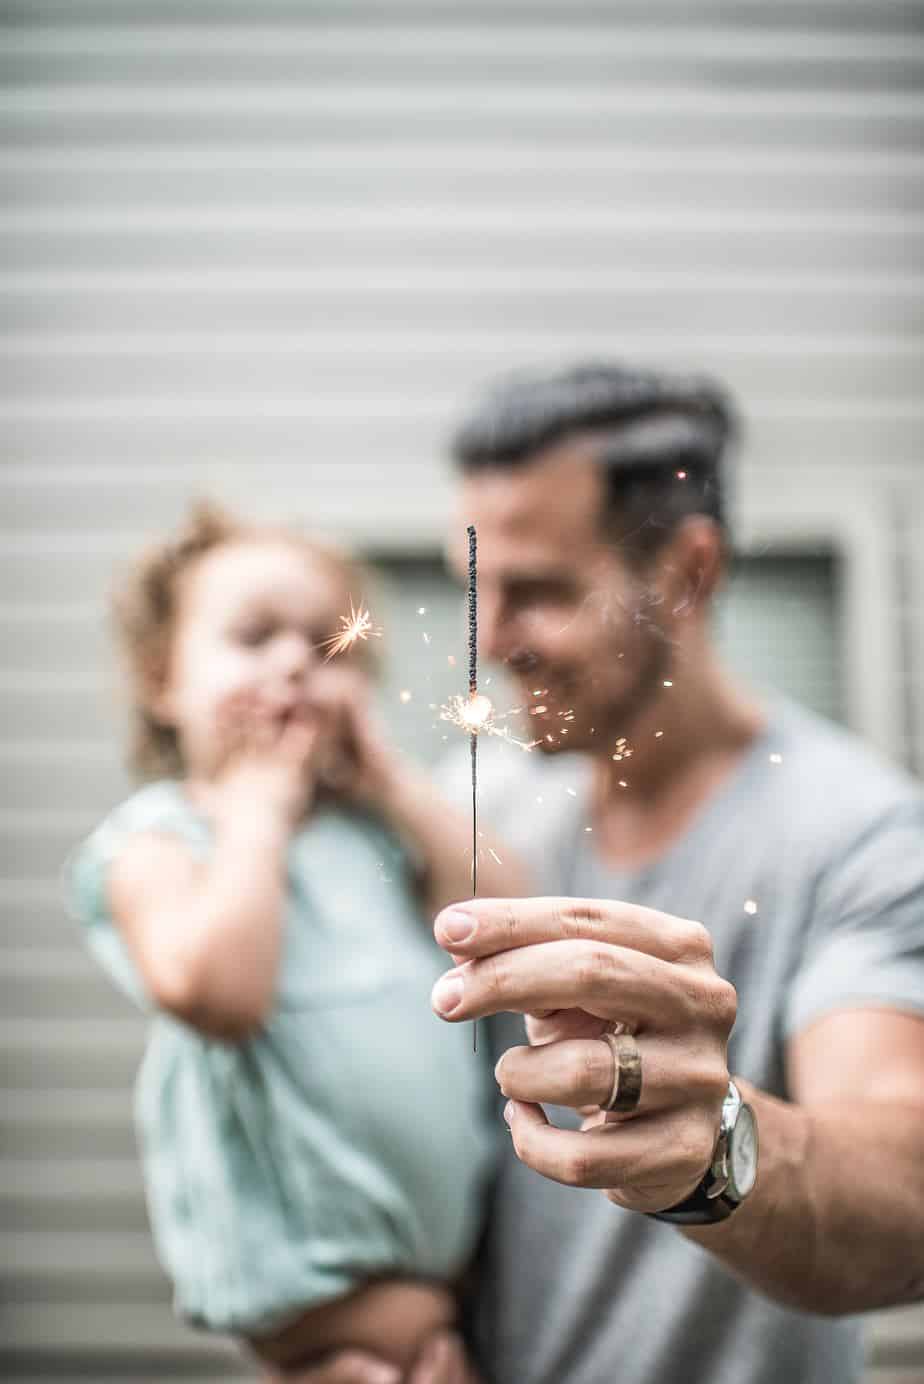
9. Sparkle Sparkle
Using sparklers as a photo prop can be tons of fun and they make STUNNING photos! Just be careful around little ones and ensure that everyone is safe.
10. Seasonal Photos
Utilize all seasonal items as photo props for seasonal shots. How amazing is this shot of this handsome little guy hanging Christmas decorations on his Christmas tree?!

Note that, when you’re taking photos take AS MANY as you can take. Take hundreds of shots if you can. You’ll choose the best at the end of the shoot.
That’s it, guys! I really hope all these tips can help you create stunning photos of your family!
Have you decided on a theme for your DIY Family Photos? Do you have any other DIY Family Portrait Ideas? Share with us in the comments below! I’d love to hear from you!
Don’t forget to share and pin for later!
OHH, and I’m on Pinterest! 🙂
Until next time,

You may also like:
9 Little Changes You Need to Make Right Now if you Want to Save Hundreds on Your Electric Bill
7 Ways to Earn Extra Money from Home
This ONE Habit can Make You a More Patient Mom


Leave a Reply