Table of Contents
Step by Step Simple DIY Dollar Tree Christmas Wreath
It’s beginning to look a lot like Christmas, Toys in everrry store. Gosh, I just LOVE the Christmas season… and if you’ve landed on this post, I’m pretty sure you do too! Welcome, friend! Hop aboard the Christmas Train with me!
A few days ago, I walked into one of our big department stores and boy did I go crazy! There were Christmas decorations everywhere and I just wanted to buy the entire store and take it home with me!
If it’s one time of the year where you throw all your financial sense through the window, it’s at Christmas time! Right?!
This year, in keeping with our financial goals of saving a ton-load of money to build our dream home soon, I left the store and returned home inspired to do my own DIY Christmas Decor. My first for this Christmas season was a beautiful DIY Christmas Wreath.
The best part is that my wreath looked just like the expensive ones sitting on a store shelf but the cost of mine was a fraction of the store price.
All these materials can be found at your local Dollar Tree and it literally costs just a few dollars to make!
This post may contain some affiliate links. This means that I may make a small commission if you make a purchase via a qualifying link (at no extra cost to you!) You can read our full disclosure for more info.
This DIY Christmas Wreath is a simple handmade project using a few simple materials from Dollar Tree, or you may even have some of these stuck in a craft cupboard right now!
If you don’t have these materials at home, and don’t feel like making a Dollar Tree run, don’t worry! Everything can be found on Amazon and I’ve linked to whatever I could find to make it even easier for you.
This wreath was so easy to make that it literally took me less than 10 minutes! This makes it a fun project that can also be enjoyed with the kids. So gather your craft supplies and let’s get started!
DIY Dollar Tree Christmas Wreath
Items you will Need for this DIY Dollar Tree Christmas Wreath:
1. A Disposable Plate (plastic is tougher and better to use in this case)
2. Green tinsel garland and Red tinsel garland
3. Scissors
4. A Marker
5. A Circular Item that is a little smaller than the disposable plate (like a saucer or the rim of a bowl)
6. A Glue Gun (or any other type of glue that is strong enough)
7. A Red/Gold Broad Glitter Ribbon OR a Medium-sized Premade Bow (you can always use extras for other decorating projects)
8. One Merry Christmas Ornament
Once you have all your materials gathered, it’s time to get started!
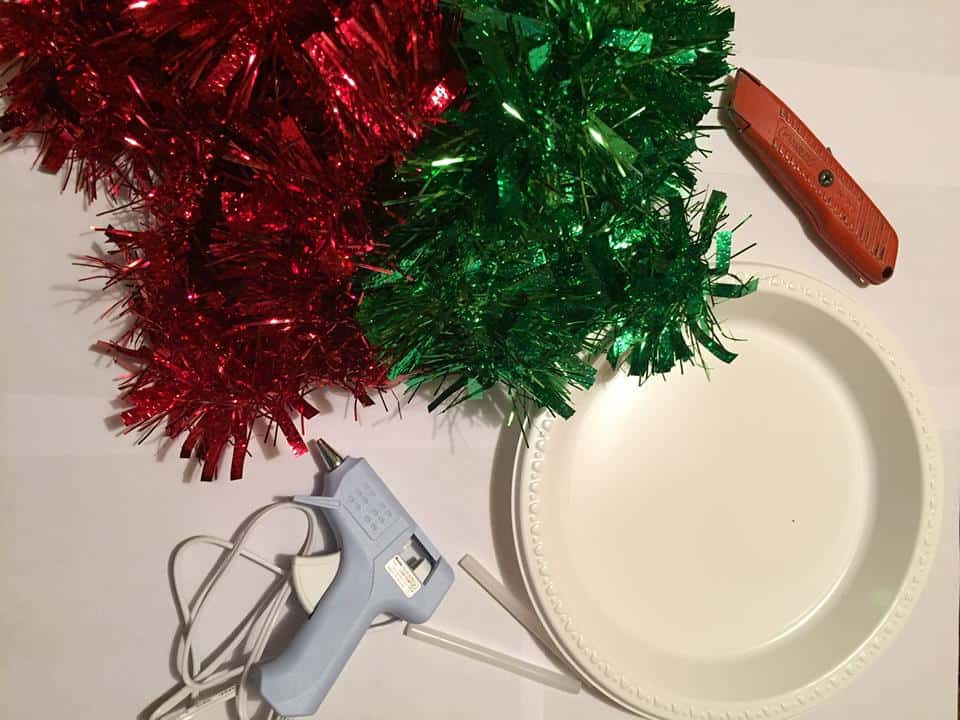
DIY Dollar Tree Christmas Wreath Step by Step Tutorial
Step 1: Draw a Circle
Use the saucer to draw a circle on the inside of the plate.
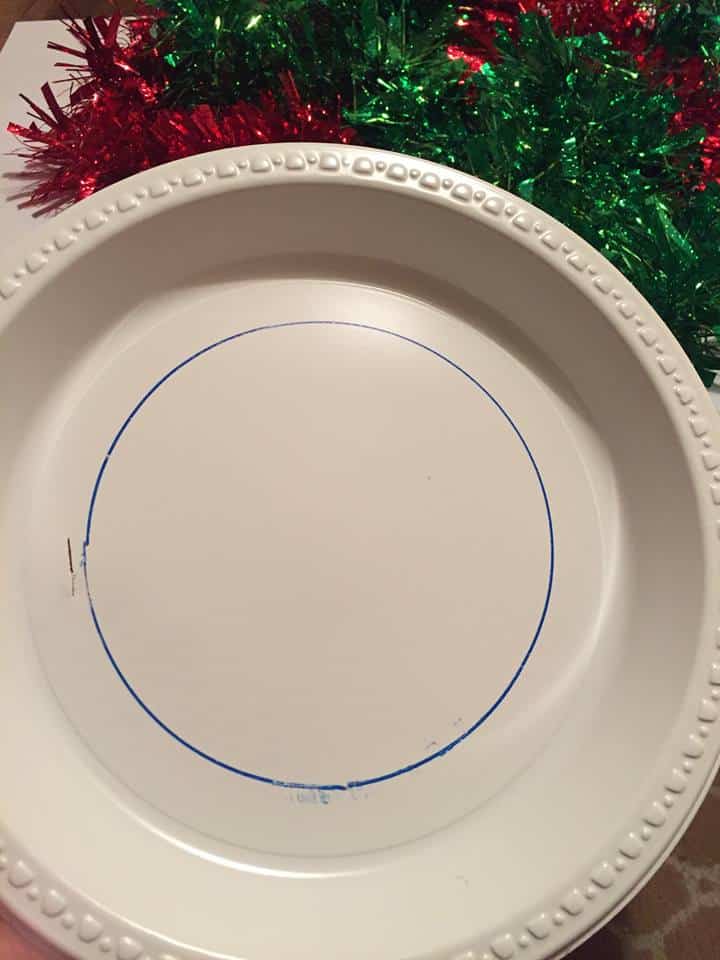
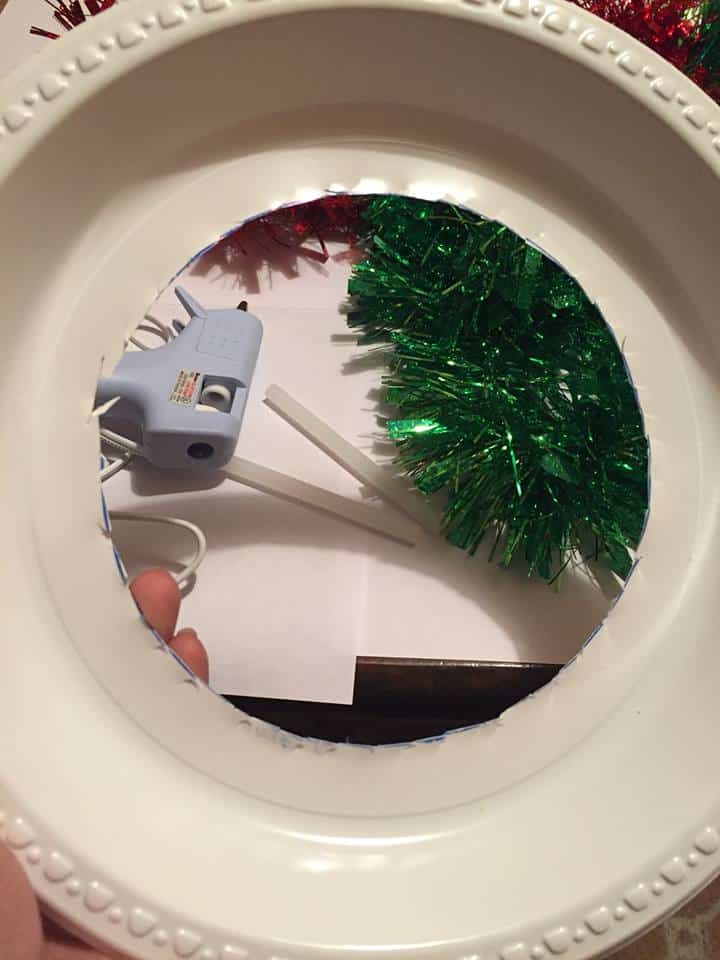
Step 2: Cut out the Circle
Make a hole and start cutting out the circle.
Step 3: Start Wrapping the Tinsel
Use your glue gun to put a few drops of glue behind the plate and stick one end of your green tinsel. Start wrapping your tinsel all the way around.
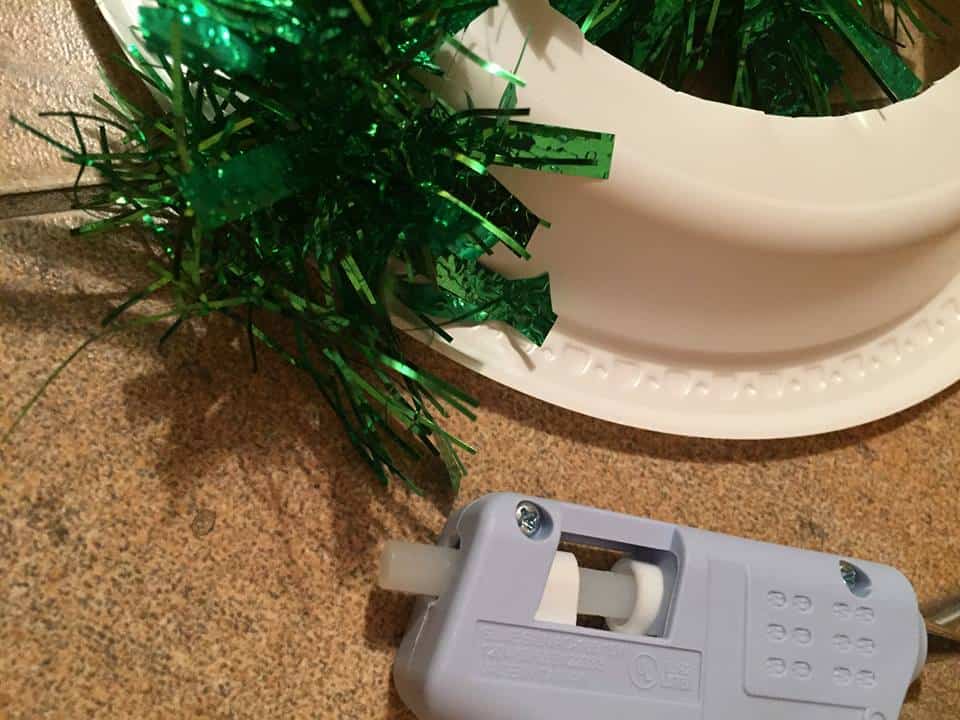
Step 4: Wrap all the Way Around
When you reach back at your starting point, glue the other end of the tinsel.
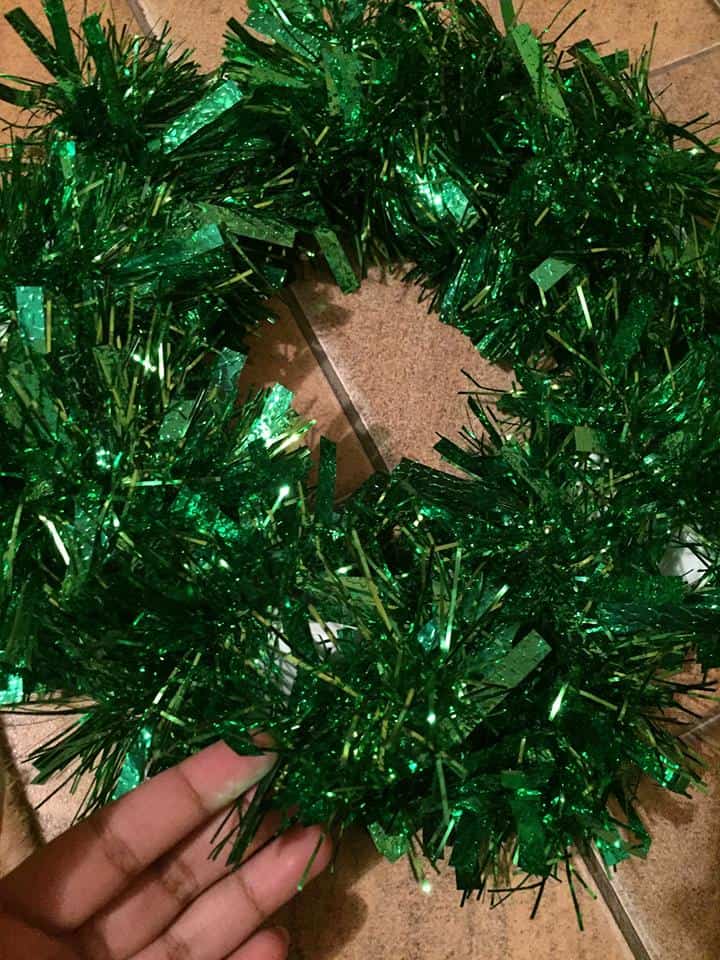
Step 5: Wrap the Red Tinsel
Use your red tinsel to do the same. As you are wrapping, space out appropriately so that you will remain with alternating bands of red and green.
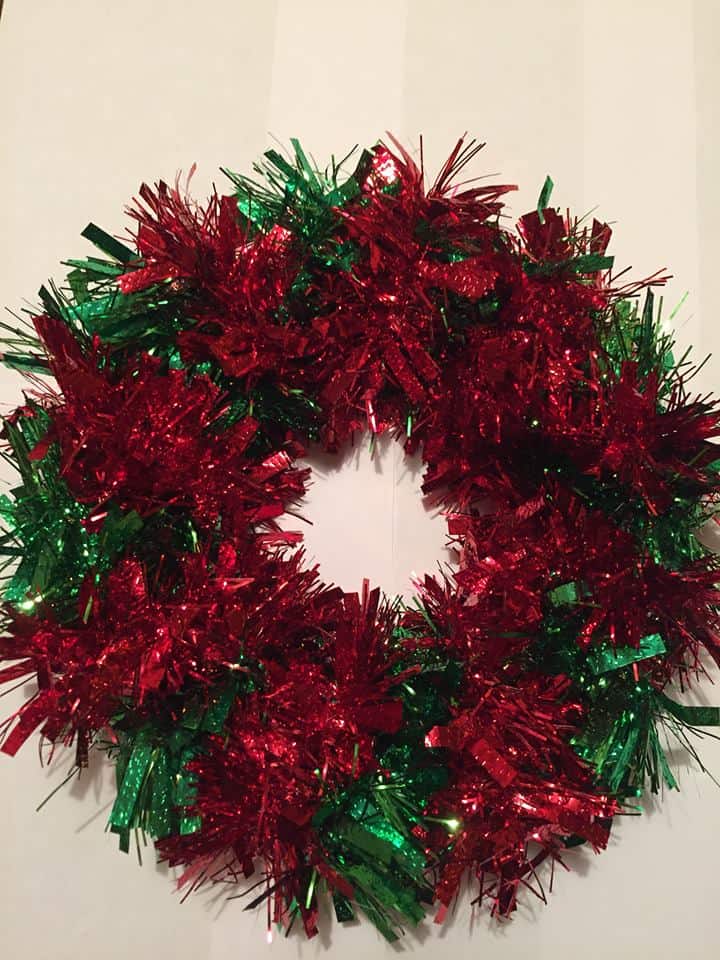
Step 6: Add the Bow
Use your ribbon to make a medium sized bow or you can use your premade bow. Attach it to the top of your wreath with a tie wrap. Then fix the tinsel so that the tie wrap can be hidden properly.

Step 7: Add your Ornament
Stick your Merry Christmas ornament on the top.

Voila! That’s it! You’ve created a beauty! And you did it on a budget!
Related Posts on DIY Dollar Tree Christmas Wreath
9 Sure-Fire Ways to Control your Holiday Spending
12 Fun and Easy Christmas Crafts for Kids
17 DIY Christmas Decor Ideas to Try this Year
17+ Unique Toys under $10 for Kids that Scream High-Quality (fulfil your Christmas List on a Budget)
Final Thoughts on DIY Christmas Wreath
See how simple this Christmas Wreath was to make? Yet it turned out elegant and beautiful! And all with Dollar Tree items too! If you chose to make this beauty, I’d love to see it! Share and tag me on IG! (And follow me while you’re there!) 🙂
Enjoy… Happy Crafting… and Happy Holidays! 🎄
Liked this post? Pin it!


Leave a Reply