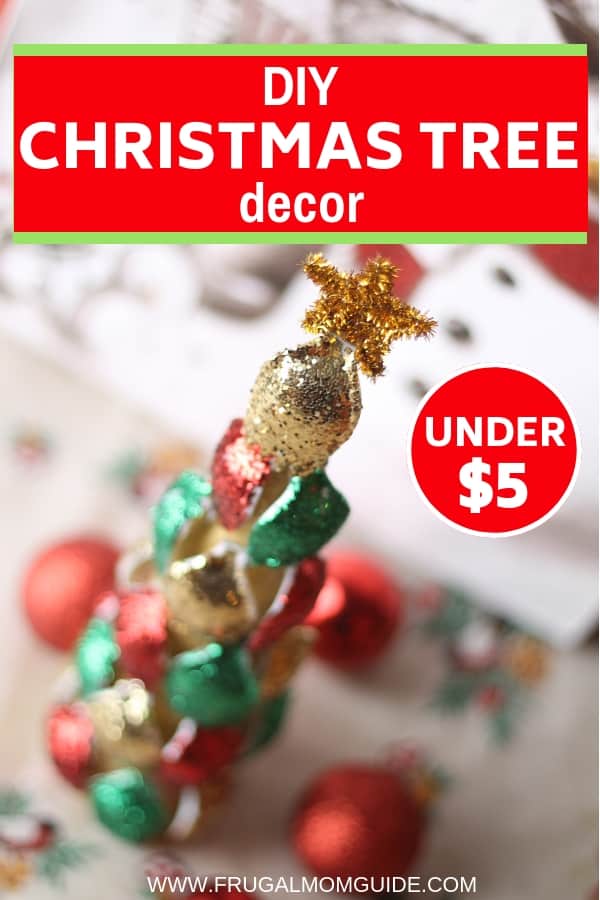
Hey guys! Christmas is in the air, it’s the BEST time of the year! Not only do we get to celebrate and remember the birth of our Lord and Savior Jesus Christ, but it’s a time to spread joy and cheer, and spend quality time with loved ones. If you read my previous DIY Christmas Decor post where I explained how I made this gorgeous DIY Christmas Wreath, you would’ve remembered me rambling on about how I OH SO LOVE Christmas! It’s also a time when people tend to get carried away with spending so I’m always looking for ways to do Christmas on a budget. Because I love making stuff, I love to be creative with my Christmas Decor and this post is no different. Today’s DIY Christmas Decorations tutorial explains how to recreate this beautiful, dazzling Christmas Tree Decor.
This post may contain some affiliate links. You can read our full disclosure for more info.
Table of Contents
DIY Christmas Decoration
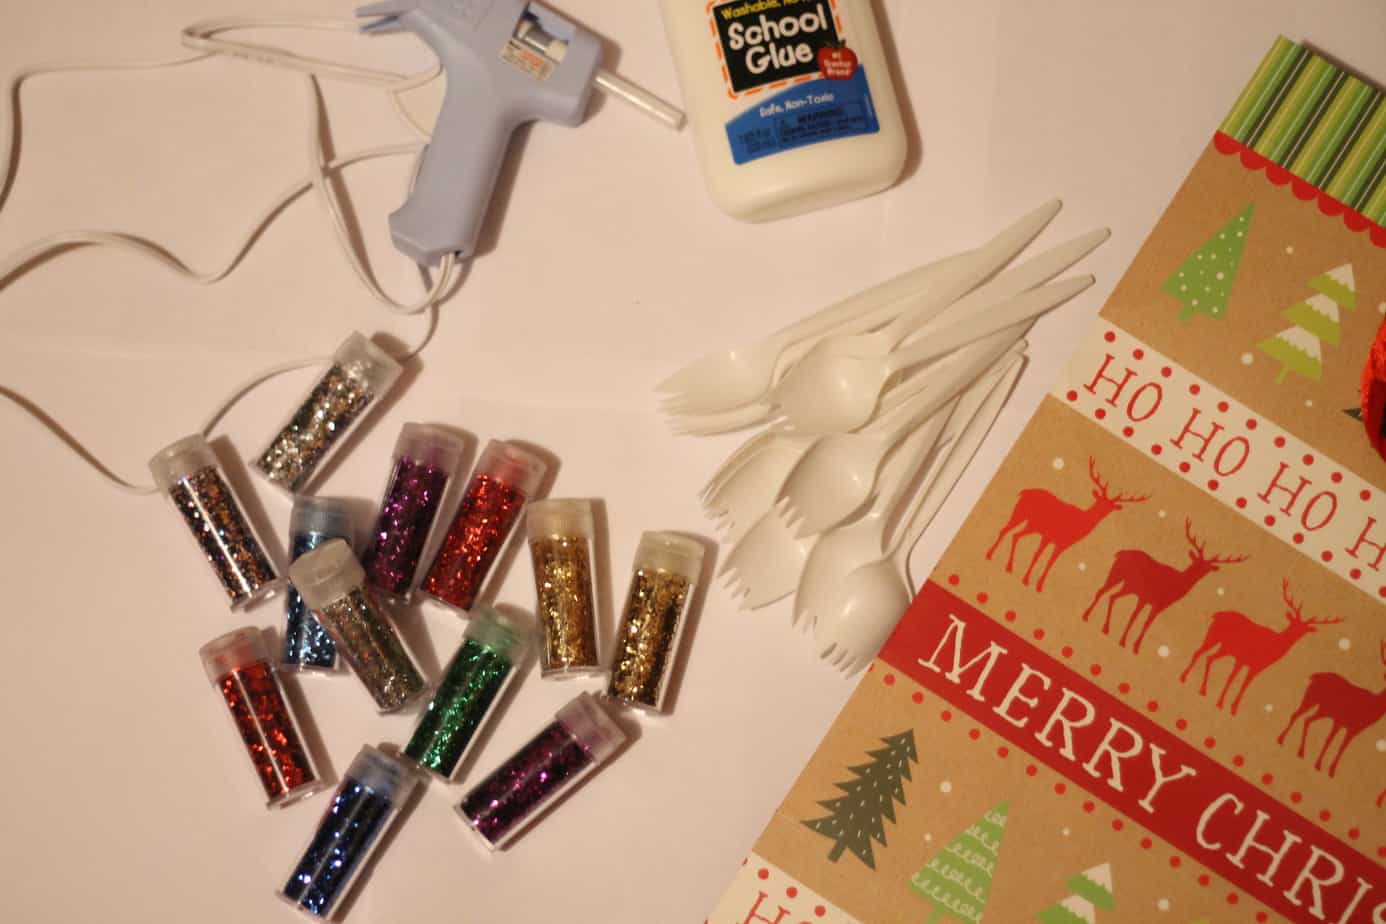
Materials Needed:
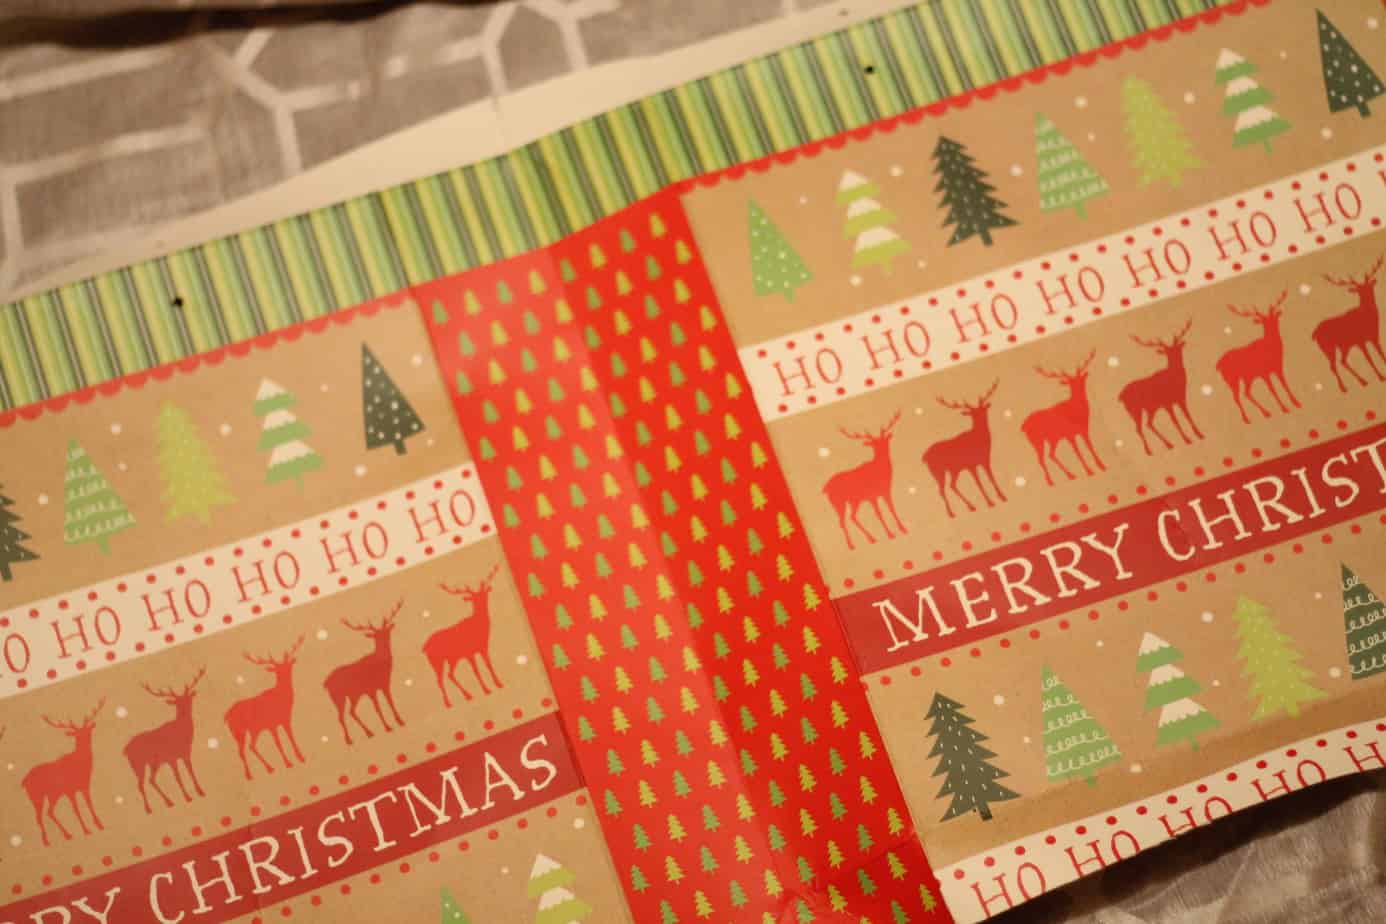
Old, Large Christmas Gift Bag (or any bristol board)
School Glue (I used this)
Glitter dust – Red, Green, Gold (Or any colors of your choice)
Pack of Plastic Sporks (or spoons)
Three gold, sparkly pipe cleaners
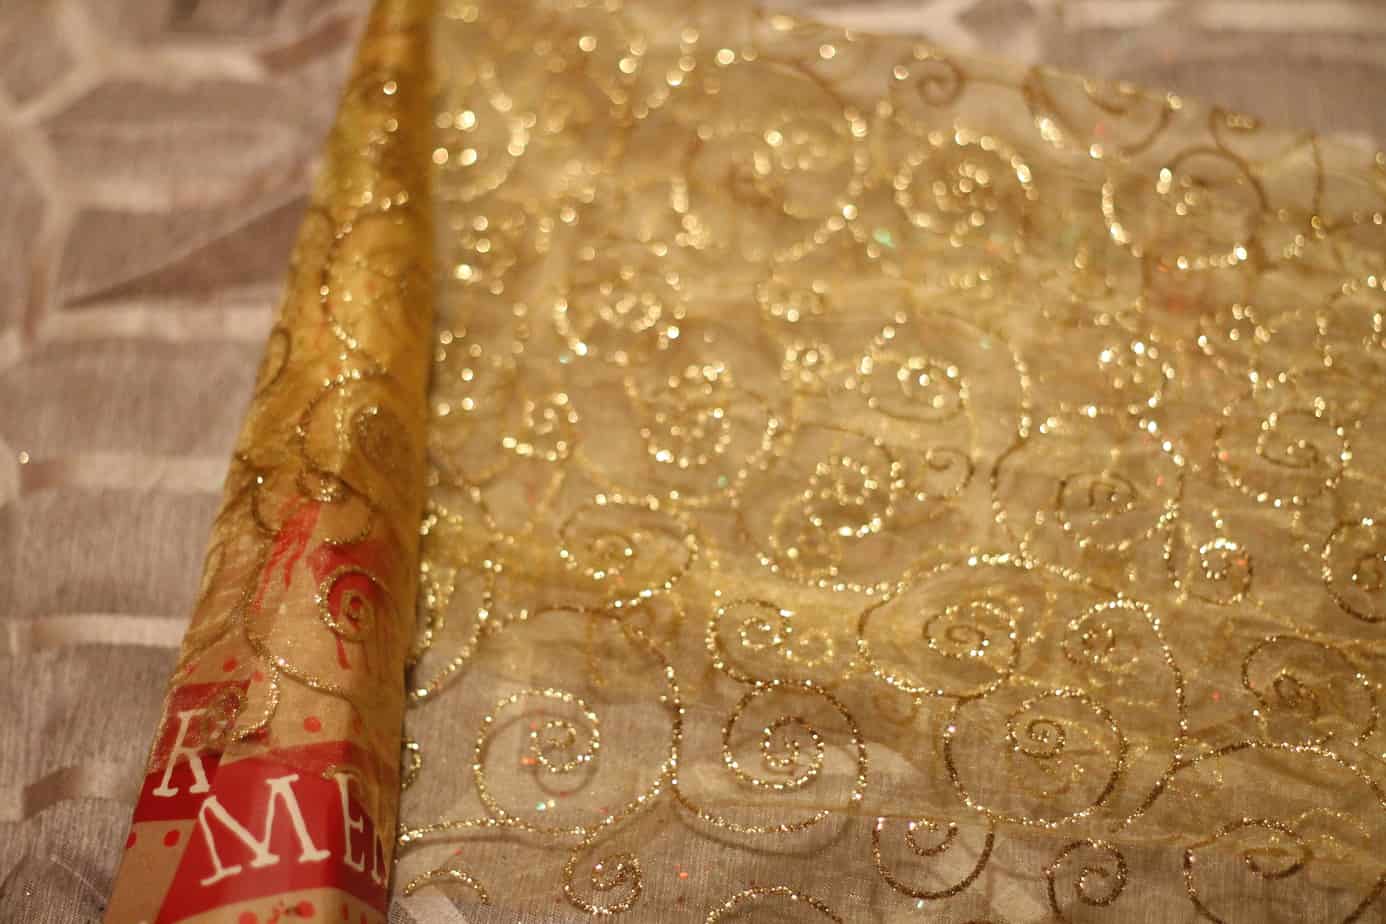
Gold Tulle Craft Ribbon (this is the exact pattern of tulle craft ribbon that I used, however mine was a bit wider)
Glue Gun
Marker or Pen
Ruler
Scissors
That’s it! This cost me nothing to make since I already had all these materials at home. I estimate that this DIY Christmas Decor will not cost more that $5 since most people will already have most of these items!
Now, let’s get started!
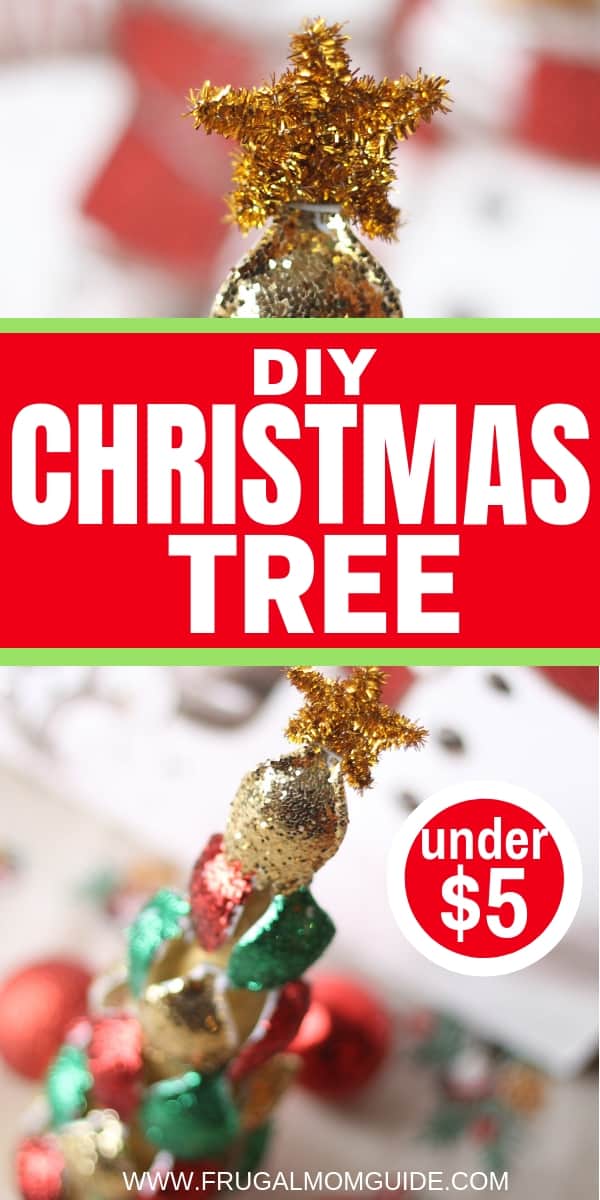
How to Make a Dazzling, Sparkly Christmas Tree
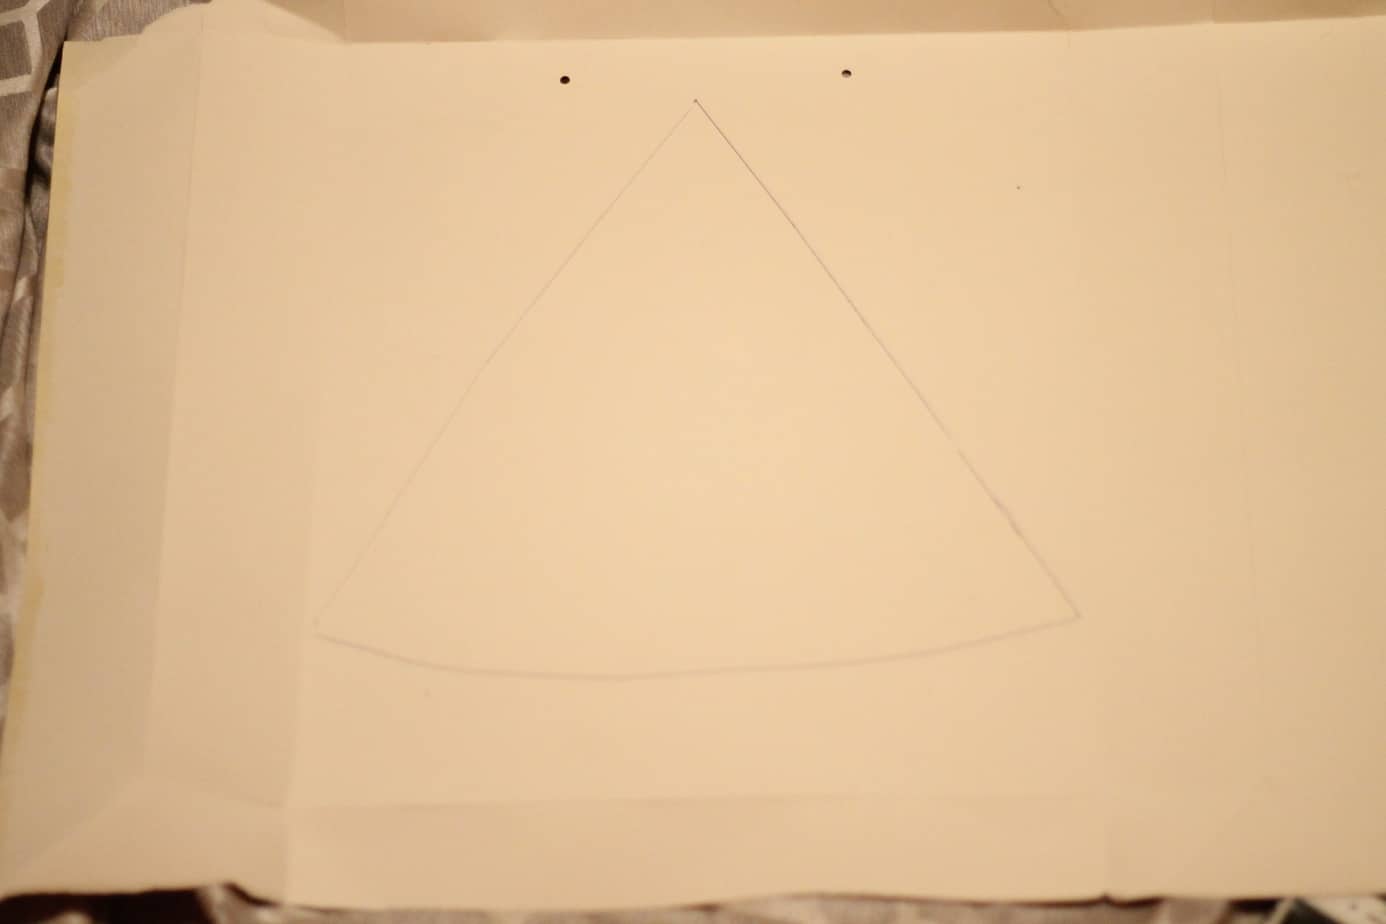
Step 1
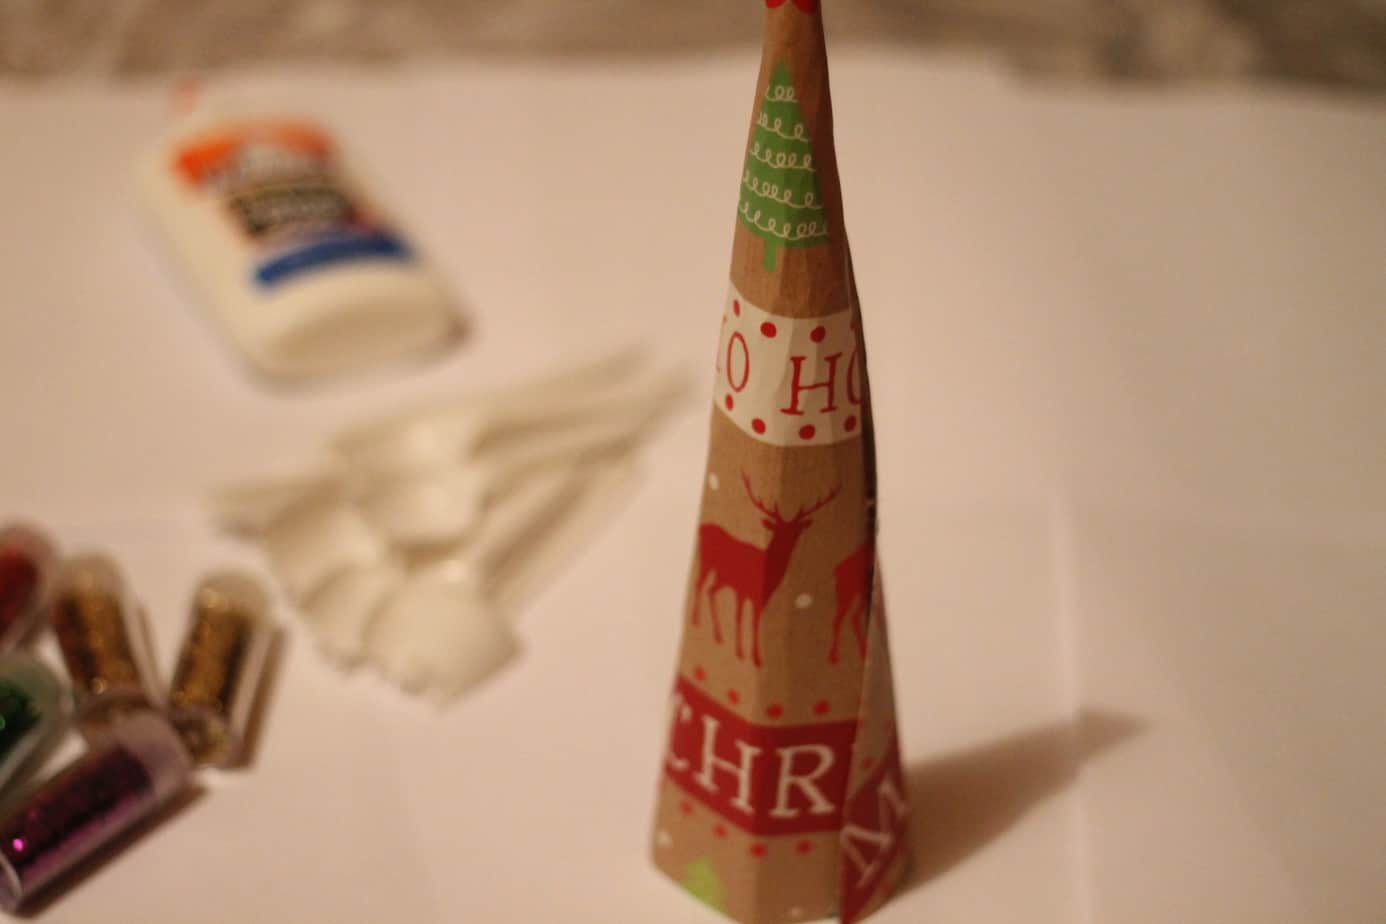
Open out the gift bag and draw a triangular shape with a rounded base on one side. This is to roll to make a cone shape for your Christmas Tree so estimate the size of the tree you’d like to make and draw your lines to suit this size. I chose to draw mine on one side of the gift bag only and my tree ended up being about 10 inches tall (the gift bag itself was large).
Step 2
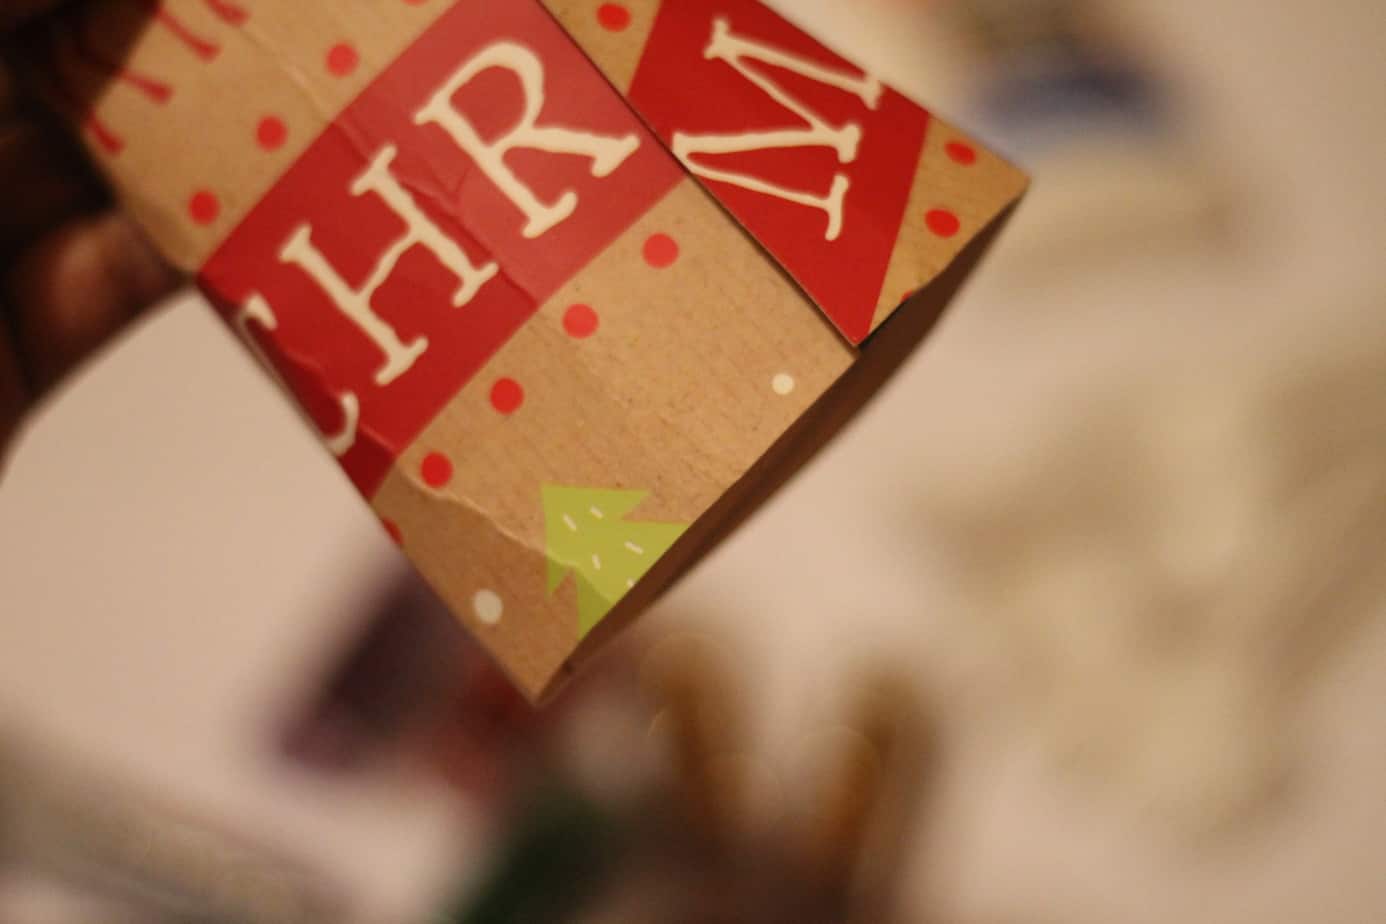
Cut out the triangular shape and roll it into a cone. Stick the edges together, flatten the base and cut the edge straight and even so that the tree will be able to stand up straight.
Step 3
Wrap the cone with your gold tulle ribbon neatly and secure using your glue gun.
Step 4
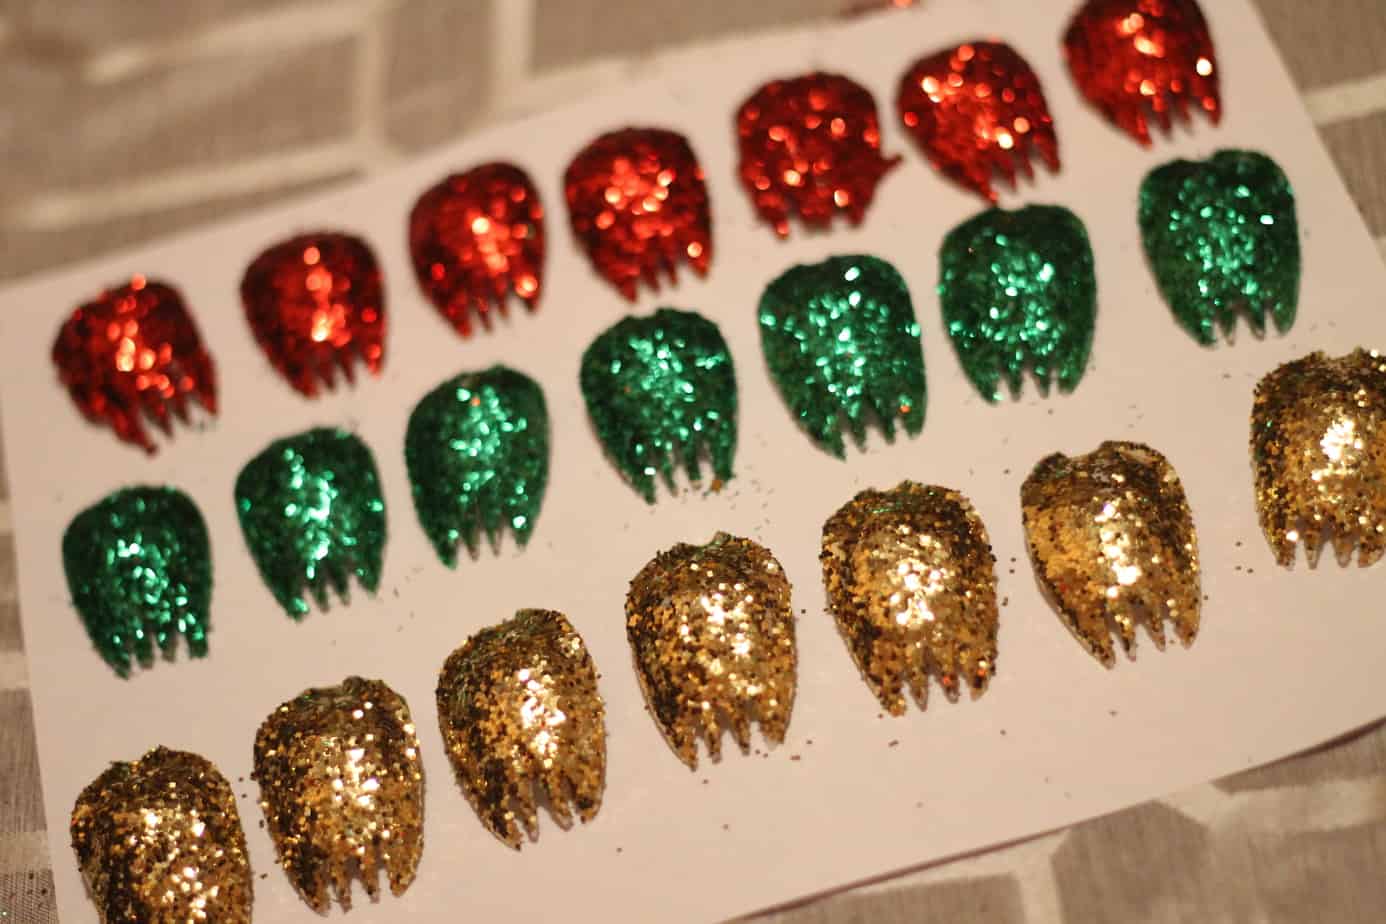
Cut off the base of the sporks/spoons. I used 30. Paste each with school glue and sprinkle generously with glitter. I did 10 red, 10 green and 10 gold. Leave to dry overnight. Feel free to use colors of your choice.
Step 5
Once dry, stick the glittered sporks/spoon base to the cone in alternating colors using your glue gun. Cover the entire cone neatly.
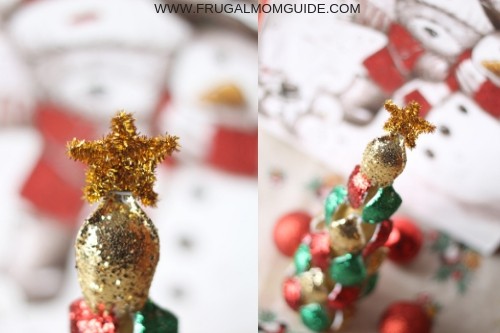
Step 6
Use your gold pipe cleaners to make a star shape for the top of your tree. I wanted my star big enough so I joined all three pipe cleaners to make the star. Stick this at the top.
And that’s it!
So easy, right?! I’m telling you, you can have a home filled with the prettiest Christmas Decor and still keep all (well most anyway) of your money in your pocket!
What did you think of this DIY Christmas Decoration? Are you going to try it? Do you have any other suggestions for this post? Share with us in the comments below. I’d love to hear from you!
Don’t forget to share and pin for later!
Until next time,

You May Also Like:
12 Fun and Easy Christmas Crafts for Kids
Super Simple DIY Christmas Wreath
29 Things to Stop Buying to Save Money
HEY! PIN ME FOR LATER!


Leave a Reply